
Chatwoot is an open-source customer engagement platform. Live chat, email, Facebook, WhatsApp, and more in one inbox.
Self-hosting means no per-agent fees. Scale your support team without scaling your bill.
What you will have at the end
- Chatwoot running at
https://chat.your-domain.com - Automatic SSL via Traefik
- PostgreSQL and Redis for production reliability
- Ready to connect live chat widget to your site
Step 1: Prepare the server
sudo apt update && sudo apt upgrade -y
Install Docker if needed:
curl -fsSL https://get.docker.com | sh
sudo usermod -aG docker $USER
newgrp docker
Verify Docker Compose version (need v2.14+):
docker compose version
Step 2: Create directory structure
mkdir -p ~/apps/chatwoot
cd ~/apps/chatwoot
Step 3: Download Chatwoot configuration
# Get the official docker-compose file
wget -O docker-compose.yaml https://raw.githubusercontent.com/chatwoot/chatwoot/develop/docker-compose.production.yaml

# Get the environment template
wget -O .env https://raw.githubusercontent.com/chatwoot/chatwoot/develop/.env.example
Step 4: Create docker-compose.yml with Traefik
Create a custom docker-compose.yml:
services:
  traefik:
    image: traefik:v2.11
    command:
      - --providers.docker=true
      - --providers.docker.exposedbydefault=false
      - --entrypoints.web.address=:80
      - --entrypoints.websecure.address=:443
      - --certificatesresolvers.letsencrypt.acme.tlschallenge=true
      - [email protected]
      - --certificatesresolvers.letsencrypt.acme.storage=/letsencrypt/acme.json
    ports:
      - 80:80
      - 443:443
    volumes:
      - /var/run/docker.sock:/var/run/docker.sock:ro
      - letsencrypt:/letsencrypt
    restart: unless-stopped

  postgres:
    image: postgres:15-alpine
    restart: unless-stopped
    environment:
      POSTGRES_USER: chatwoot
      POSTGRES_PASSWORD: ${POSTGRES_PASSWORD}
      POSTGRES_DB: chatwoot
    volumes:
      - postgres_data:/var/lib/postgresql/data
    healthcheck:
      test: ["CMD-SHELL", "pg_isready -U chatwoot"]
      interval: 10s
      timeout: 5s
      retries: 5

  redis:
    image: redis:7-alpine
    restart: unless-stopped
    command: redis-server --requirepass ${REDIS_PASSWORD}
    volumes:
      - redis_data:/data

  chatwoot:
    image: chatwoot/chatwoot:latest
    restart: unless-stopped
    depends_on:
      postgres:
        condition: service_healthy
      redis:
        condition: service_started
    environment:
      - SECRET_KEY_BASE=${SECRET_KEY_BASE}
      - FRONTEND_URL=https://chat.your-domain.com
      - POSTGRES_HOST=postgres
      - POSTGRES_USERNAME=chatwoot
      - POSTGRES_PASSWORD=${POSTGRES_PASSWORD}
      - POSTGRES_DATABASE=chatwoot
      - REDIS_URL=redis://:${REDIS_PASSWORD}@redis:6379
      - RAILS_ENV=production
      - ENABLE_ACCOUNT_SIGNUP=false
    labels:
      - traefik.enable=true
      - traefik.http.routers.chatwoot.rule=Host(`chat.your-domain.com`)
      - traefik.http.routers.chatwoot.entrypoints=websecure
      - traefik.http.routers.chatwoot.tls=true
      - traefik.http.routers.chatwoot.tls.certresolver=letsencrypt
      - traefik.http.services.chatwoot.loadbalancer.server.port=3000

  sidekiq:
    image: chatwoot/chatwoot:latest
    restart: unless-stopped
    depends_on:
      - chatwoot
    command: bundle exec sidekiq -C config/sidekiq.yml
    environment:
      - SECRET_KEY_BASE=${SECRET_KEY_BASE}
      - POSTGRES_HOST=postgres
      - POSTGRES_USERNAME=chatwoot
      - POSTGRES_PASSWORD=${POSTGRES_PASSWORD}
      - POSTGRES_DATABASE=chatwoot
      - REDIS_URL=redis://:${REDIS_PASSWORD}@redis:6379
      - RAILS_ENV=production

volumes:
  letsencrypt:
  postgres_data:
  redis_data:
Step 5: Configure environment variables
Create .env file:
# Generate secrets
SECRET_KEY_BASE=$(openssl rand -hex 64)
POSTGRES_PASSWORD=$(openssl rand -hex 16)
REDIS_PASSWORD=$(openssl rand -hex 16)

cat > .env << EOF
SECRET_KEY_BASE=$SECRET_KEY_BASE
POSTGRES_PASSWORD=$POSTGRES_PASSWORD
REDIS_PASSWORD=$REDIS_PASSWORD
EOF
Step 6: Initialize the database
# Start databases first
docker compose up -d postgres redis

# Wait for postgres to be ready
sleep 10

# Run database setup
docker compose run --rm chatwoot bundle exec rails db:chatwoot_prepare
Step 7: Deploy
docker compose up -d
Step 8: Create admin account
Visit https://chat.your-domain.com and create your first account.
If ENABLE_ACCOUNT_SIGNUP=false, create via console:
docker compose exec chatwoot bundle exec rails console
Then in the console:
User.create!(name: 'Admin', email: '[email protected]', password: 'securepassword', confirmed_at: Time.now)
Step 9: Add live chat to your website
- Go to Settings > Inboxes > Add Inbox
- Select "Website"
- Configure your widget settings
- Copy the JavaScript snippet to your site
Backup strategy
Chatwoot needs PostgreSQL and Redis backups.
#!/bin/bash
# Daily backup script
BACKUP_DIR=/backups/chatwoot/$(date +%Y%m%d)
mkdir -p $BACKUP_DIR

# Postgres dump
docker exec chatwoot-postgres-1 pg_dump -U chatwoot chatwoot > $BACKUP_DIR/chatwoot.sql

# Redis dump (for session data)
docker exec chatwoot-redis-1 redis-cli -a $REDIS_PASSWORD BGSAVE
sleep 5
docker cp chatwoot-redis-1:/data/dump.rdb $BACKUP_DIR/redis.rdb

# Compress
tar -czf $BACKUP_DIR.tar.gz $BACKUP_DIR
Troubleshooting
Chatwoot shows 500 error
- Check if database migrations ran:
docker compose logs chatwoot - Run migrations manually:
docker compose run --rm chatwoot bundle exec rails db:migrate - Verify environment variables are set correctly
Live chat widget not loading
- Verify FRONTEND_URL matches your domain
- Check browser console for CORS errors
- Ensure the widget script is loaded correctly
Emails not sending
- Configure SMTP settings in .env
- Required: SMTP_ADDRESS, SMTP_PORT, SMTP_USERNAME, SMTP_PASSWORD
- Test with:
docker compose exec chatwoot bundle exec rails consolethenActionMailer::Base.mail(to: '[email protected]', subject: 'Test', body: 'Test').deliver_now
Sidekiq jobs stuck
- Check Sidekiq logs:
docker compose logs sidekiq - Verify Redis connection
- Monitor queue: visit
/sidekiq(admin only)
Internal links
- Tutorial: Deploy Docker Compose to VPS
- Tutorial: Self-Host n8n
- Comparison: Intercom Alternatives
- ServerCompass: One-click Chatwoot deployment
Related in the StoicSoft network
If you work in AI-assisted coding, shared terminal sessions, or agent-driven shell workflows like the ones above, 1devtool is the StoicSoft network's tool for safer AI-assisted terminal work — shared sessions with auditing, preflight policy, and tiered model routing built in.
From across the StoicSoft network
Hand-curated reads on the same topic from sister sites in the StoicSoft family.
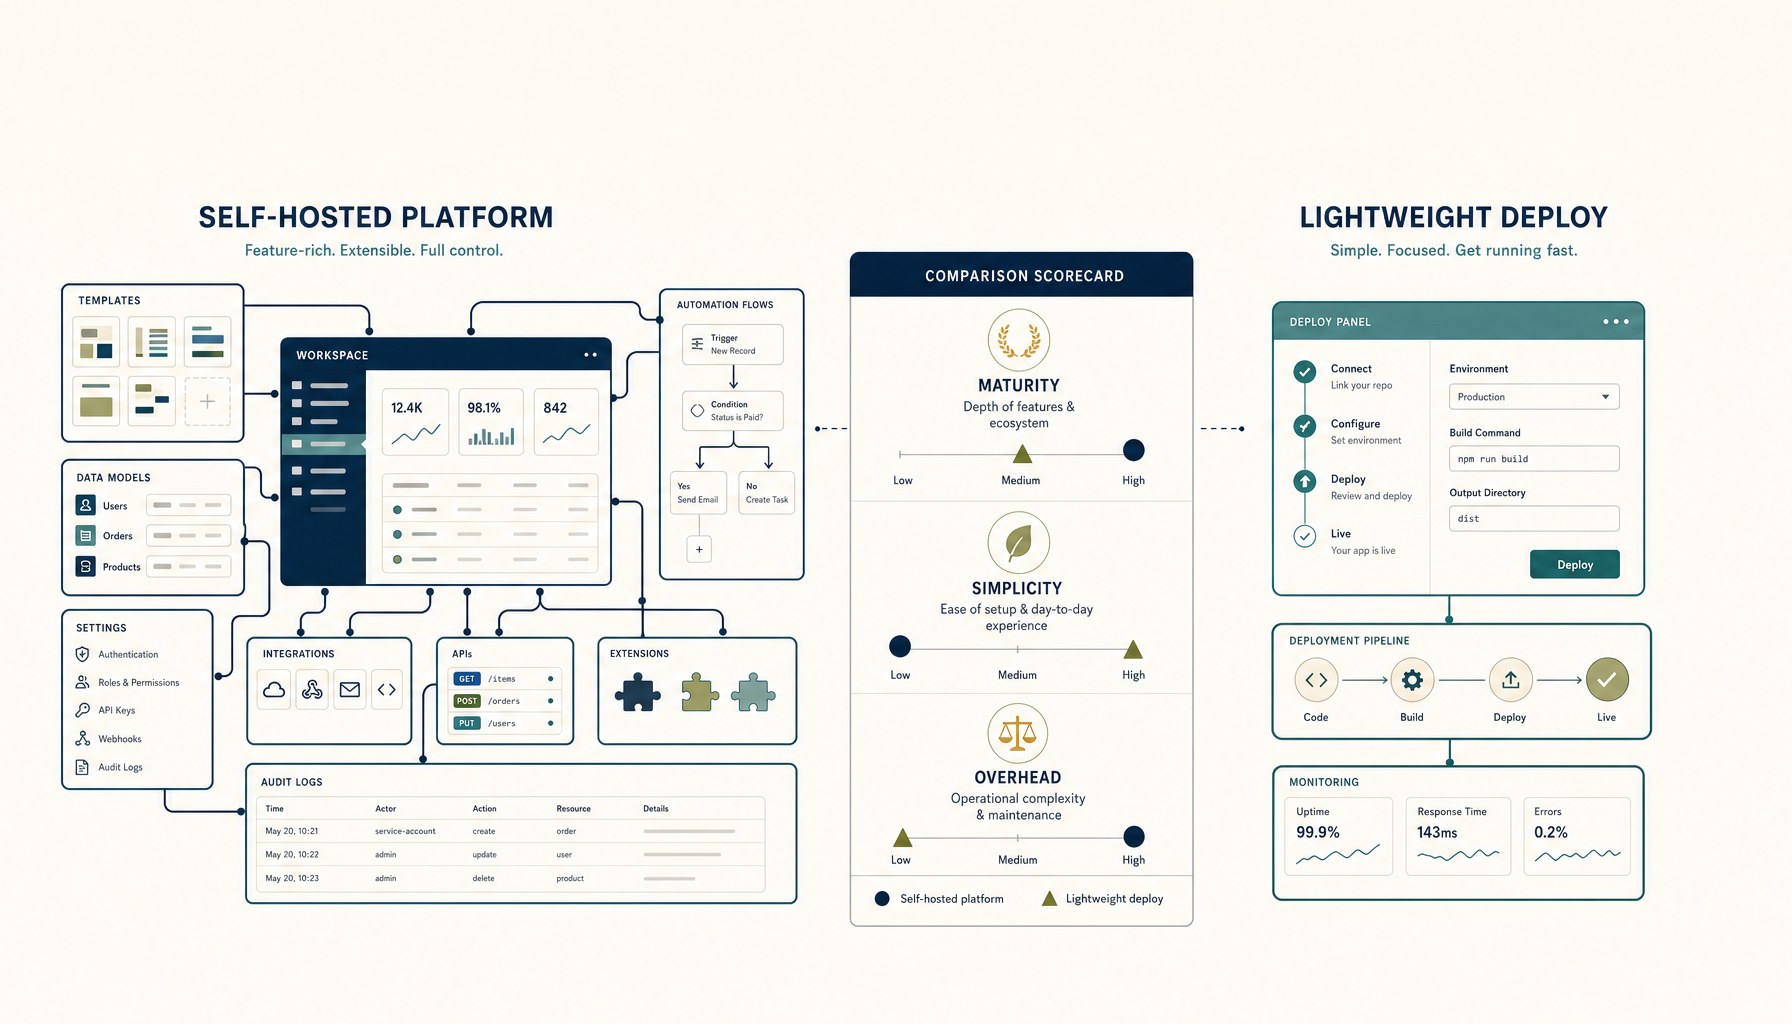 Deploy Handbook
Coolify vs Dokploy: Self-Hosted PaaS Comparison
Both let you run your own Heroku. Which one should you pick for your VPS?
Read on deployhandbook.com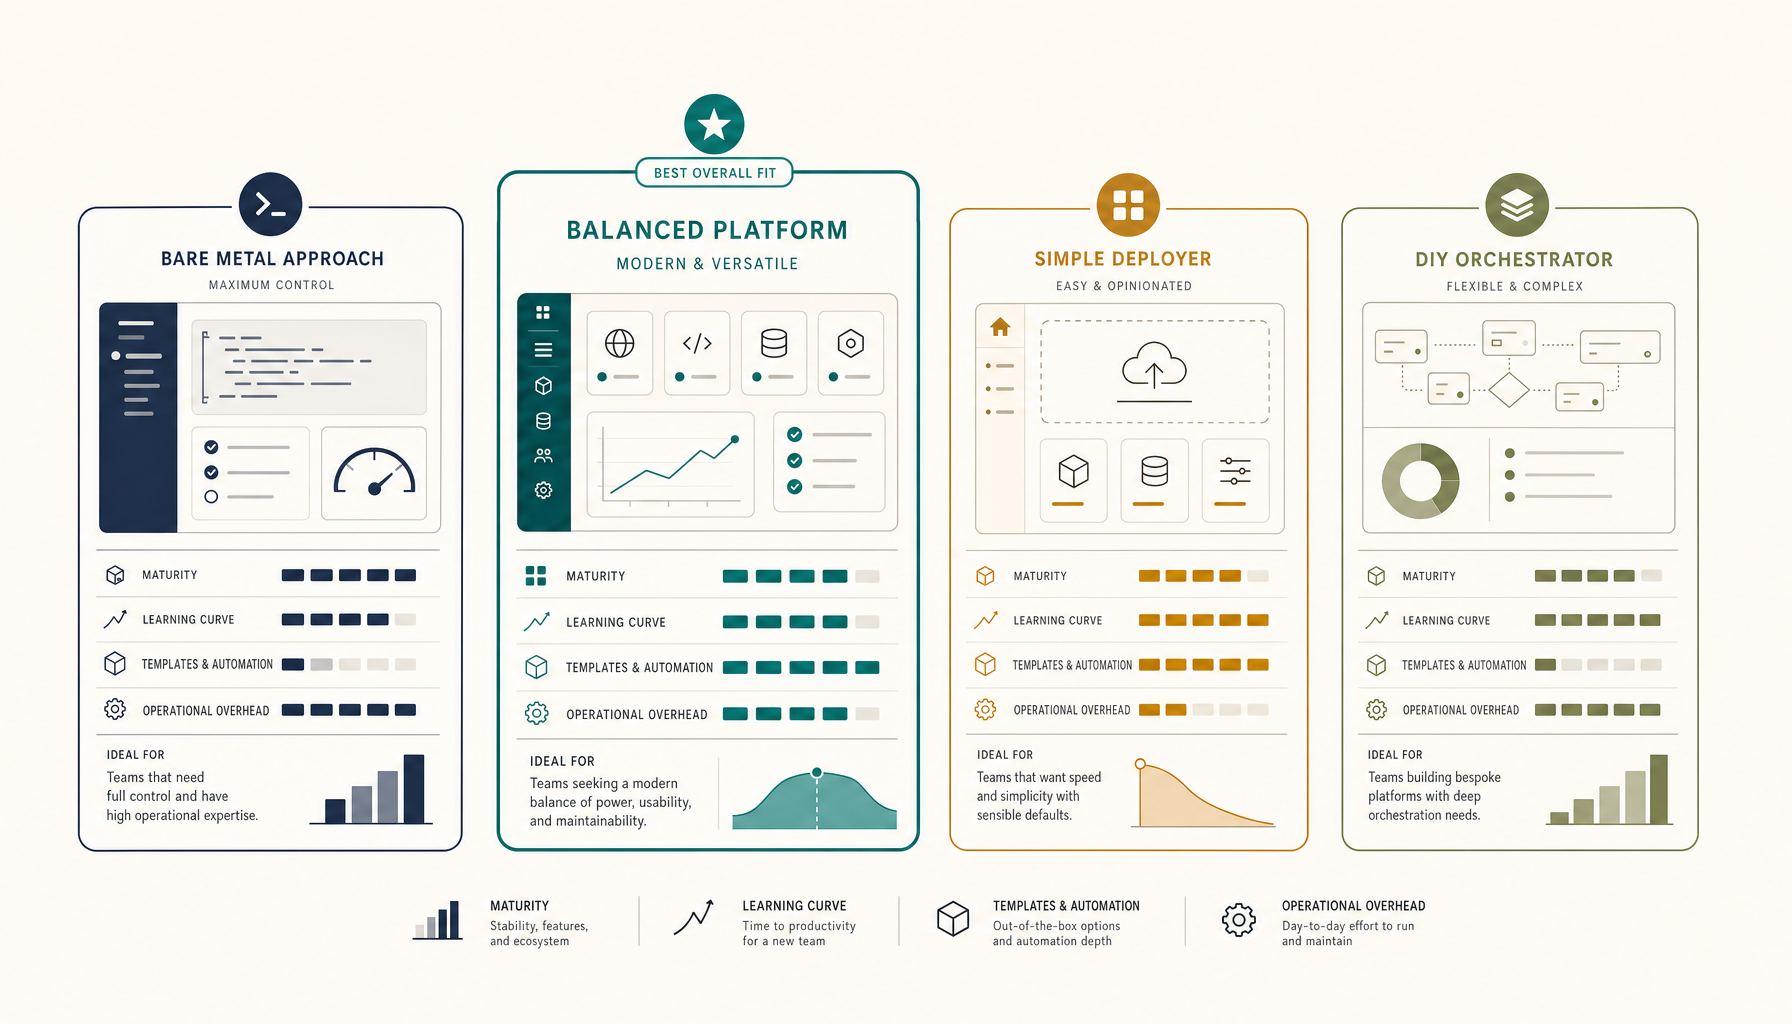 Deploy Handbook
Best Self-Hosted PaaS (2026): Coolify, Dokploy, CapRover, ServerCompass
A practical comparison of self-hosted PaaS options. Run your own Heroku alternative on a VPS for a fraction of the cost.
Read on deployhandbook.com